Are you looking to create a new customer in Zoho Books? This video will provide a tutorial on how to do so.
Create a new customer in Zoho Books
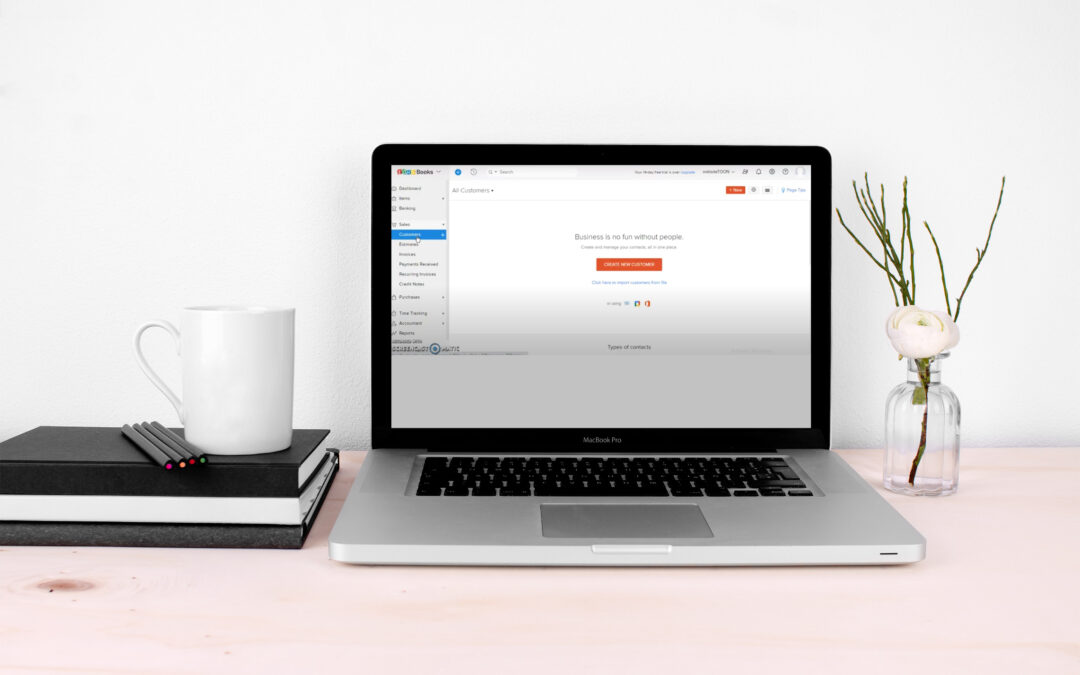
After you log in to Zoho Books, you are taken to the dashboard. On the left-hand side of your screen, navigate to sales. Then click on customers. You can create a new customer or import customers from a file.
You can choose whether the customer is a business or an individual. Then fill out their first and last name as well as their company name. The customer display name is the name that will appear on invoices and bills created for that customer. You’re also able to enter their email, phone number, and website.
Add information about a new customer in Zoho Books
Zoho Books allows you to add
- other details,
- address,
- contact persons,
- custom fields,
- reporting tags,
- and remarks.
Underneath other details, you will find currency, opening balance, payment terms, enable portal, portal language, in addition to Facebook and Twitter.
If you click on address, you can fill out their billing and shipping address with details about their country, city, state, zip code, and phone number.
With contact persons, you have the option to include information about the name, email address, and phone number for an individual at that company.
You can add custom fields for your contacts by navigating to settings, preferences, and customers.
If you want to create reporting tags, go to more settings and then navigate to reporting tags.
If you have any notes about a customer you want to record, click on remarks.
Once you have entered all the details about a new contact, hit save.
We hope this video helped you with learning how to create a customer in Zoho Books. Feel free to subscribe to our YouTube channel for more videos on different Zoho products. If you have any questions about Zoho, feel free to get in touch with us. We have helped over two thousand businesses in Canada, the United States, and other countries around the world.
Recent Comments